Virtual Classes for Scoring
Problem-Attic has a new feature that makes it easier to keep your class results separate or to merge them into a single report. It’s called “Virtual Classes”.
Previously, to get separate results, it was necessary to copy a document. This produced a unique test code for each class. The downside (besides storing a lot of extra documents) was not having a way to merge results. Now you can create just one physical document and, when you’re ready to turn it into an online test, Problem-Attic can create a virtual copy for each of your classes.
Please note:
-
Virtual classes are completely optional. Everything having to do with document creation is the same as before, and you can use the older method of copying a document for each class, if you prefer it.
-
Problem-Attic’s scoring app, including virtual classes, requires a subscription. If your school doesn’t have a subscription, you can try all features in the Play Area.
Instructions
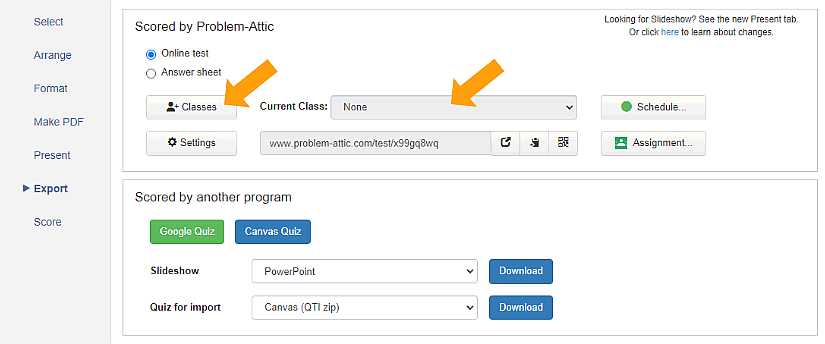
Virtual classes are set up and managed by clicking the Classes button on the Score tab. You switch between them (or merge results) with the drop-down menu labeled “Current Class”. The button and menu are shown here:
Here are the steps for creating and using virtual classes.
-
Create a document as usual in Problem-Attic.
-
Click the Score tab.
-
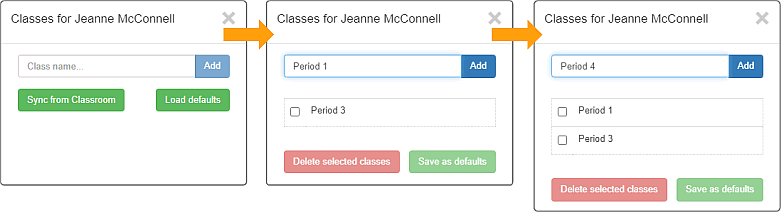
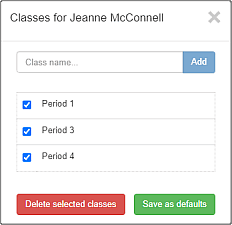
Click the Classes button.
-
Type the name of a class that will be given the test, then click Add.
-
Repeat step 4 for each additional class that will be given the test.
-
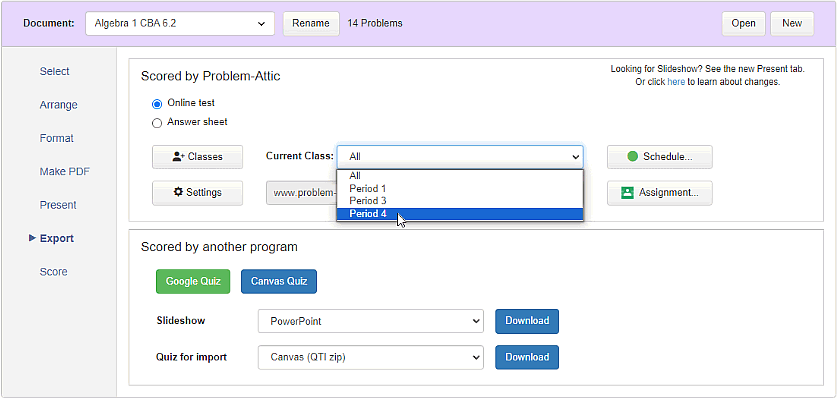
When it is time to administer the test to a class, select it in the drop-down menu. This is important, because it changes the test code.
-
Students start the test the same way as always, by scanning a QR code or clicking the link which you provide. Be sure to give students the code or link for their specific class.
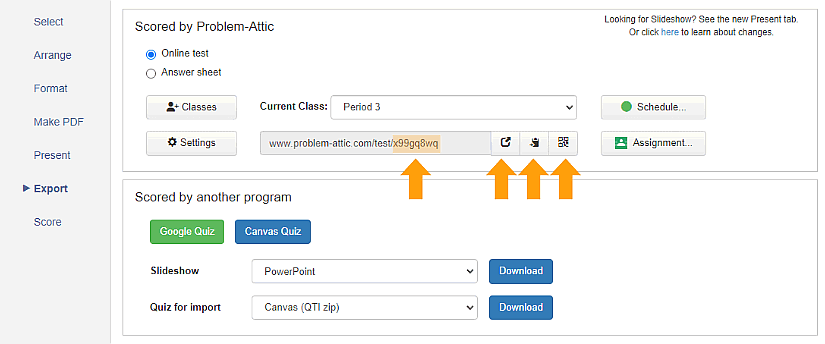
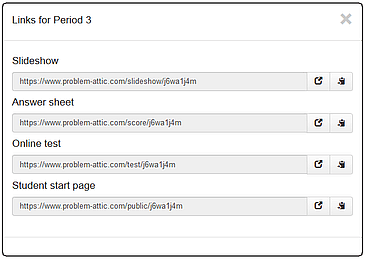
Note: The test code shown on the left, and the QR code shown on the right, are for the currently-selected class. They will change when you switch classes. Similarly, if you click the Links button, then all four of the links in the dialog will be for the current class. The class name will be shown in the dialog, as a reminder.
-
After students submit their answers, you can view them on the Score tab. The results will be separated by class, based on the QR code or link that you provided students. To switch between classes, use the drop-down menu.
Unassigned and Merged Results
As noted above, you do not need to use virtual classes when using the scoring app. Every document you create in Problem-Attic will have a test code, QR code, and links that you can give students, even if you don’t assign the document to a class.
If you don’t use virtual classes, then the drop-down menu will be inactive and set to “None”. In that case, Problem-Attic will do scoring as it did before. All submissions for the test will be combined on the Class, Student and Problem tabs.
If you do create virtual classes, then you will see “None (unassigned)” as one of the options in the drop-down menu. You can choose this option when administering a test. One reason is to take the test yourself, to review the questions and answers. Or you might want to keep separate those students who miss their regular class and are given the test later, perhaps as a make-up.
Another option you will see in the drop-down menu, if you make use of virtual classes, is “All (merged)”. This option shows student results from all of your classes merged together on the Class, Student and Problem tabs. It also includes any results which are unassigned.
Additional Information
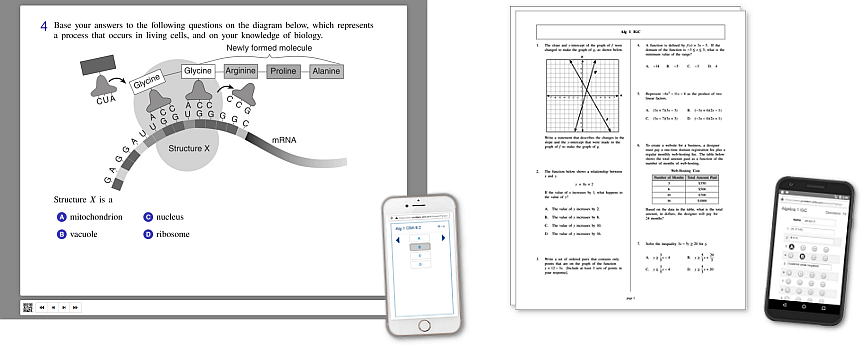
You can add and switch between virtual classes only on the Score tab. You are not limited, however, to using them for online tests. They also work with Problem Attic's answer sheet options. That means you can set up classes for printed tests, PDFs, and slideshows, as long as the answers are collected electronically. You can think of this as a “hybrid approach” to scoring, as illustrated here:
Very important: if you want to use virtual classes with a slideshow that Problem-Attic creates, be careful how you launch it. You should not use the link on the Export tab, because it’s not assigned to a class. Instead, you should select a class on the Score tab, then click the Links button. The slideshow link in the dialog box will be for a specific class.
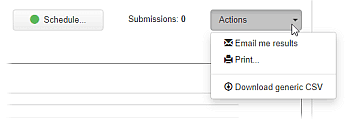
On the Score tab, the Results button and the clear submissions icon are connected to the drop-down menu for “Current Class”. That means, for example, if you click the button to print or download results, then what you get will match what you are viewing on the Class, Student and Problem tabs.
You can remove virtual classes as easily as you can add them. You’ll see the option when you click the Classes button. One reason to remove a class is if you typed its name incorrectly. (There is no edit button, but you can quickly fix a name by removing a class and adding it again.) If you are planning to re-use a document in the future, that’s a good reason to remove all classes when you’re done with scoring.
Important: removing a class does not clear student submissions. Instead, they become unassigned. If you remove all classes, submissions are effectively merged, and they are still viewable on the Score tab, as if you had not created any virtual classes in the first place. If you actually want to clear student submissions, click the icon on the left.
We hope you find virtual classes to be a useful addition to Problem-Attic. If you need assistance or want to provide any feedback, you can send an email to support@problem-attic.com.