Inserting an Image
The feature described below is available by subscription. It can be tried out for free in the Play Area.
You can add images to any question, either by uploading your own, or choosing from the available Stock Images.
Uploading Your Images
To upload your own images for use in questions, follow the steps below.
-
Write a new question or edit an existing one.
-
Move the cursor to where you want to insert an image.
-
Click Insert Image to open the Image Browser.
-
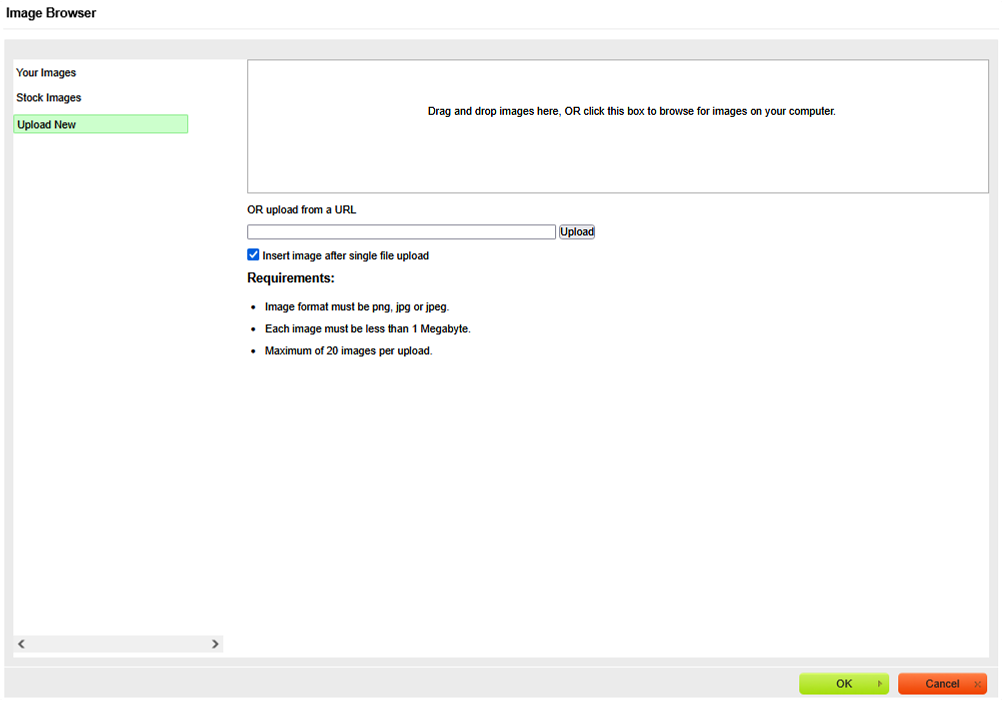
Click Upload New.
-
Locate an image file on your computer (PNG or JPG, < 1MB). Drag and drop the image onto the box. The image will appear under Your Images.
Note: You can click the upload box to browse through folders, and click the file you’d like to upload. You can also copy a URL link to an image you’d like to use into the lower box, then click “Upload”.
-
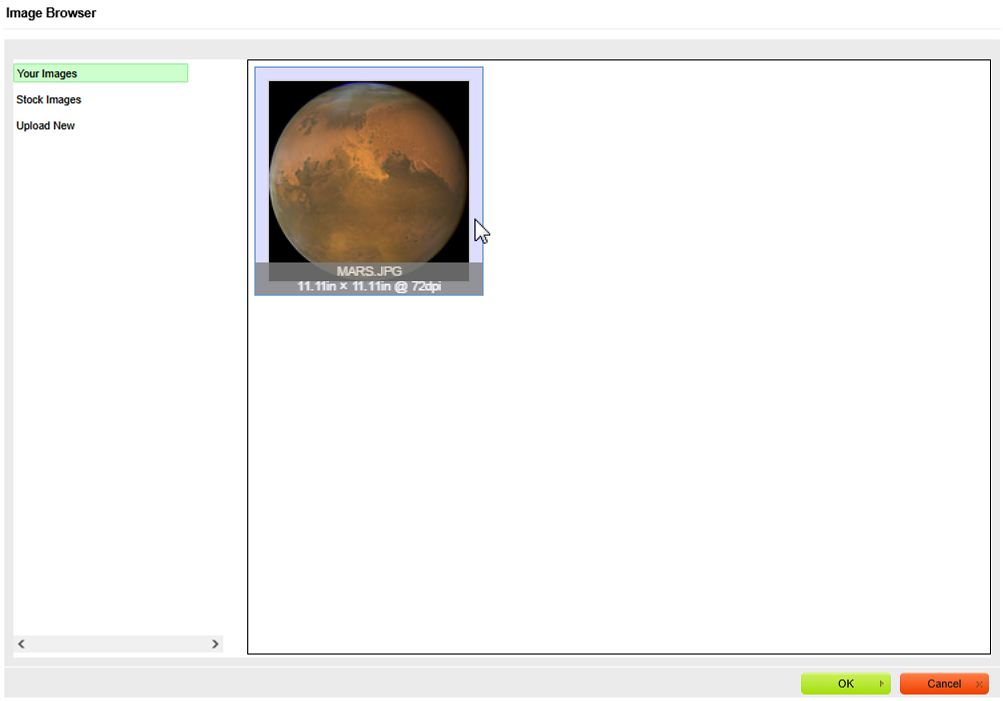
Select the image under Your Images and click OK. The image will appear in the Problem Editor.
NOTE: To change the image scale and alignment, in the Problem Editor, right-click on the image and select Image Properties.
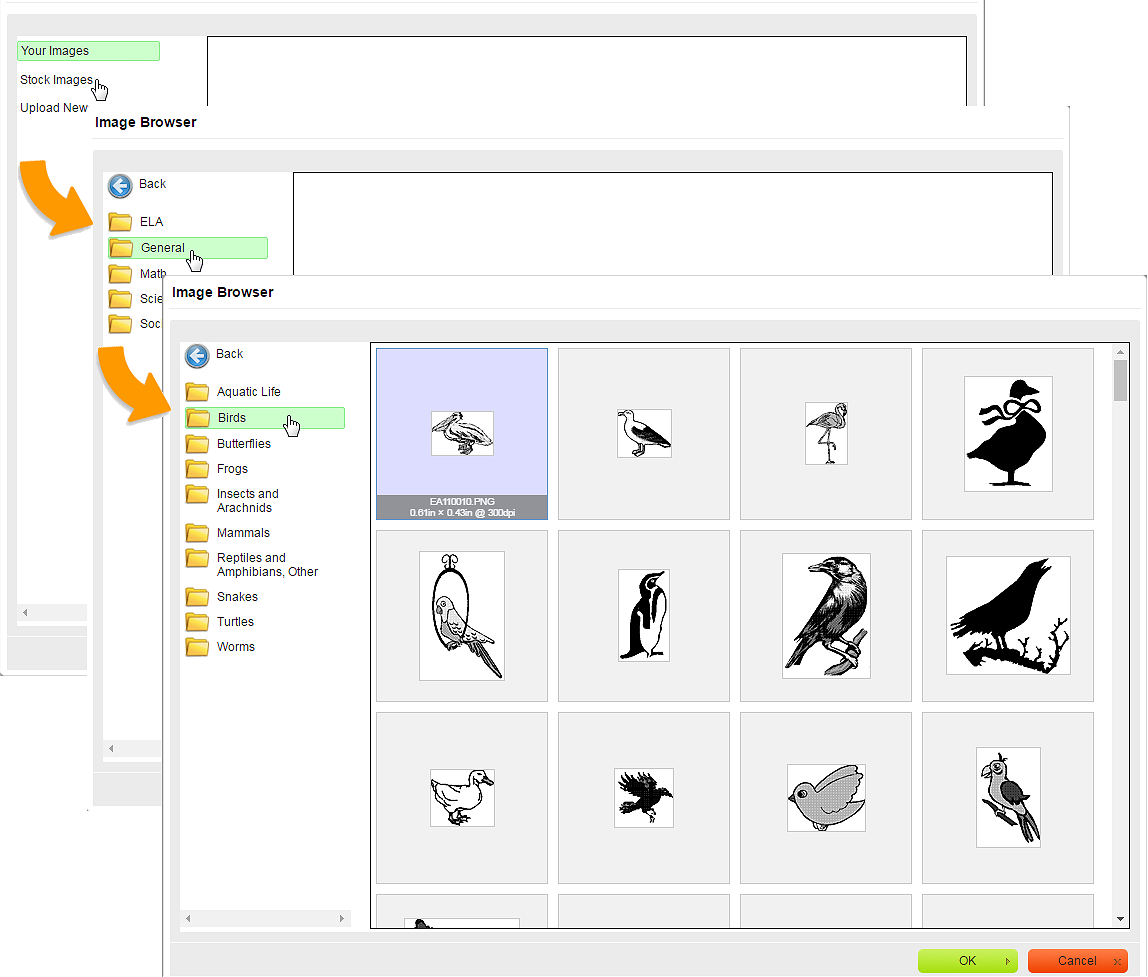
Inserting Stock Images
Problem-Attic provides a collection of high-res images that are formatted and ready for use in your questions.
To add one of these Stock Images, follow the steps below.
-
Write a new question or edit an existing one.
-
Move the cursor to where you want to insert an image.
-
Click Insert Image to open the Image Browser.
-
In the Image Browser, click Stock Images.
-
Click the folders on the left to look through the image organization. Once you select a folder with images, they will show up in the Image Browser.
-
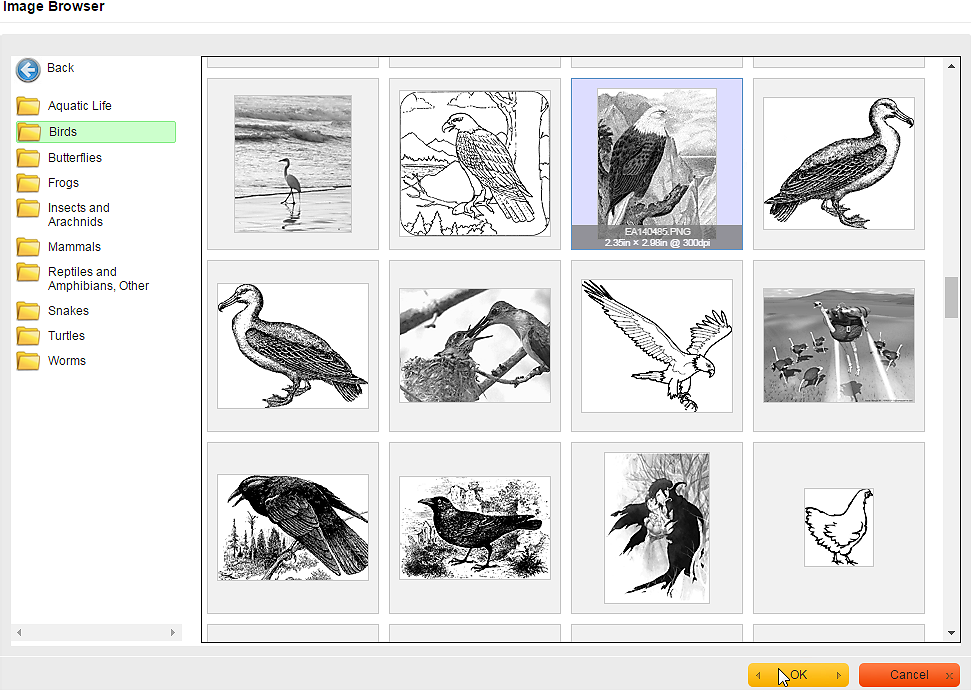
Scroll to the image you want, and click to highlight it.
-
Click OK.
The image will be added at your cursor.