Welcome to Problem-Attic!
Problem-Attic is a tool for creating your own teaching materials. It combines an enormous database of questions—all from respected sources—with a wide range of options for selection, formatting and delivery. It’s designed to help not only with assessment but with regular instruction, classroom activities and blended/online learning.
This tour shows how to get started. Everything described here—and much more—can be done with a free sign-up. If you follow the steps, you’ll be creating beautiful documents in just a few minutes, and they’ll be perfectly tailored to your teaching style, your curriculum, and the needs of your students.

The Basics
To create documents in Problem-Attic, use the buttons on the left of the page. The process can be summarized this way:
- Go into the database and Select questions
- Arrange and Format the questions the way you like
- Click Make PDF to view, share, or download your document.
Further down are screenshots which illustrate each step, plus links to help pages.
Please note: the Export and Score tabs are for teachers at subscribing schools. If your school does not have a subscription, you can try all options in the Play Area.
Selecting Questions
Problem-Attic’s main Select page shows question banks. Click on one of the banks, then “drill down” to view questions.
When you are looking at question “thumbnails”, select what you like by clicking the Add button or double-clicking on the question itself. The question will slide out of the way and be added to your document.

One of the discoveries you’ll make is that questions are organized multiple ways: by topic, standard, released test, or lesson. For a given source, you can browse whichever organization best serves your needs.
You can also mix and match questions from different banks. To go back up a level, click the left-pointing arrow near the top of the page. Or use the navigation panel to go up a level, to the next/previous category, or all the way back to the main Select page.
Problem-Attic has many options to help you find what you’re looking for. Be sure to check out search by topic, the Filter and Add buttons at the top of each selection page, and the right-click option for choosing questions at random.
Arrange Tab
On the Arrange tab, you can:
- change the order of questions
- break up a document into parts
- add directions, objectives, answer spaces, and more
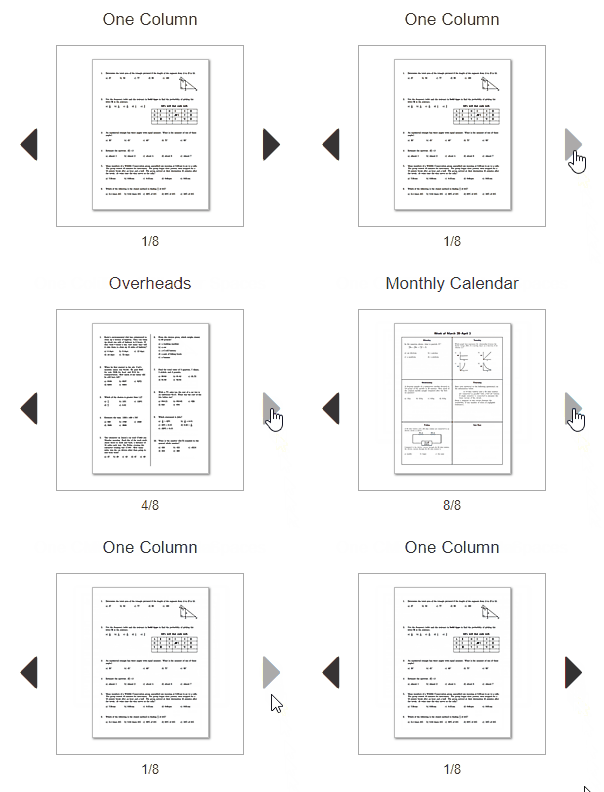
By default, when you click the Arrange tab, questions are shown in “Grid” view. This view is best for moving them around. To do that, simply click on a thumbnail and drag it to a new location.

You will notice there’s a slider for adjusting the number of columns. One column is usually best for reviewing questions and deciding if any should be cut (removed from your document). Multiple columns is best for moving them around. The main thing is that the slider affects what you see on the Arrange page, not how the questions are actually formatted.
A second view, called “Details”, is for adding directions or making changes to individual questions. For example, in Details view, you can insert blank lines for an essay answer or piece of graph paper for a drawing.
Something else you can do in Details view is convert a multiple-choice question to free-response. This is done by hiding choices. To learn more about this, and other options on the Arrange tab, see:
In the above screenshot, you’ll see an Edit icon and a button for writing a new problem. These options are part of a school subscription, so they’re not covered in the tour. If you're interested, please read about our live math editor and graphics library.

Format Tab
On the Format tab, you can change the overall appearance of your document. This is done by selecting one of the templates. Besides tests and worksheets, Problem-Attic can create:
- overheads
- flashcards, either two or four per page
- problem-of-the-day calendars, either weekly or monthly
The flashcards option is great for daily warm-ups, exit tickets, games, and other activities. The calendar has many uses, too, from spiral learning to extra-credit, review, and challenge. Options like these make Problem-Attic more than just a ‘test generator’.
Below the template are other ways to customize your document. You can turn on/off the answer key, adjust the spacing between questions (called “workspace”), choose a font size and style, change the header, and add instructions to the beginning of your document (called a “memo”).
There are also options for labeling and numbering of questions. With these options, you can match the look of just about any standardized test. More importantly, you can get away from multiple-choice testing by hiding choices. On the Arrange tab, you can do that question-by-question. On the Format tab, you can tell Problem-Attic to convert questions (as much as possible) across an entire document.
Make PDF
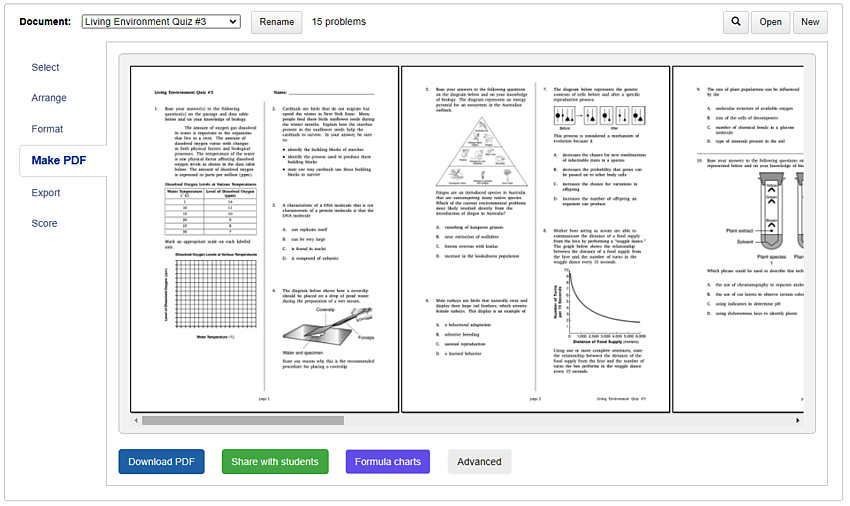
After you’ve selected the questions you want and decided how they should look, the next step is to click Make PDF.
It takes Problem-Attic just a few seconds to create your document. Then you’ll see a preview on the Make PDF tab. You can scroll to the right in the preview to see all pages. If you’re happy with the document, click Download. Or if you want to make changes, return to the Select, Arrange and Format tabs.

After downloading a document, you can open it in your browser or any PDF reader. Then you have the option of printing the document or distributing it to your students electronically—e.g., posting the PDF on a website, attaching it to an email, or uploading it to an LMS.
There are two options on the Make PDF tab that may be very helpful to you.
- If you are trying to replicate a state test, you might want to include a formula chart which goes with a particular grade and subject. Problem-Attic has a large collection of them, which you can attach by clicking the Formula charts button.
- If you are going to distribute a PDF electronically, you can skip the download step and simply give your students a link to it. This is the purpose of the Share with Students button. If you click the button, Problem-Attic will host your PDF (like Google Drive or Dropbox) and give you a link that allows students to pull down the PDF directly.
Note: Problem-Attic is a very flexible tool when it comes to downloading and distributing documents, but there are limitations. Under the Terms of Service. the documents which you download are for your students only, and they should not be used to build a separate database of questions. We encourage you to share documents with other teachers, to use Problem-Attic for curriculum development, and to customize the database for your own purposes. However, you should use the built-in tools. They’re described here: